Introduction.
Before going into creating new 3D shapes for your network diagrams, there are a few concepts that need to be understood.
- Shape. Each "symbol" you add to your network diagrams, is called a shape. Shapes are organized in shape groups.
- Textures. A texture is just an image that you can apply to your shapes to "paint" them. In NetworkMaps, textures are applied to shapes as kind of lightmaps. The color of the shapes is user defined (a default is specified when you create the shapes). A texture should have a size where width and height are equal and width is a power of 2 (ej. 128x128, 256x256, 512x512, ...).
- Subshape. Each shape is composed of one or two subshapes. Each subshape has it's own color and texture assigned.
- Subshape elements. A subshape can be composed of different 3D elements. An element is a collection of vertex in 3D, the list of faces (triangles) that have to be drawn using these vertex, and the UV (texture) coordinates of each one of these faces.
- Shape icon. Each shape has an icon assigned. The icon is used on the toolbox "Add" to show each one of the available shapes in a shapegroup.
- Shape Group. All NetworkMaps shapes are organized in shape groups. A network diagram has a set of shape groups assigned and you can add shapes to a diagram that belong to these shape groups. You can, at any time, change the shape groups that a diagram has assigned, but be careful. If there is any shape in the diagram belonging to a shape group that is removed, this shape will lose it's appearance and it will be shown as a simple cube.
The Shape Group Management Screen.
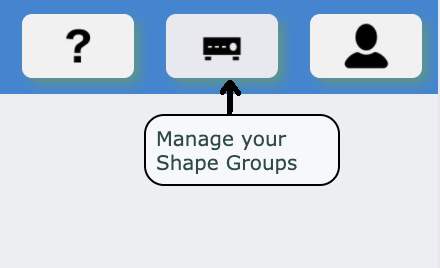
When you log in to NetworkMaps, on screen where you have your list of network diagrams, there is a button on the top right corner that will take you to the Shape Group Management screen.
Once you click on this button, you will be take to the Shape Group manager screen. On this screen you will have a list of your created shape groups and a button to create new ones.
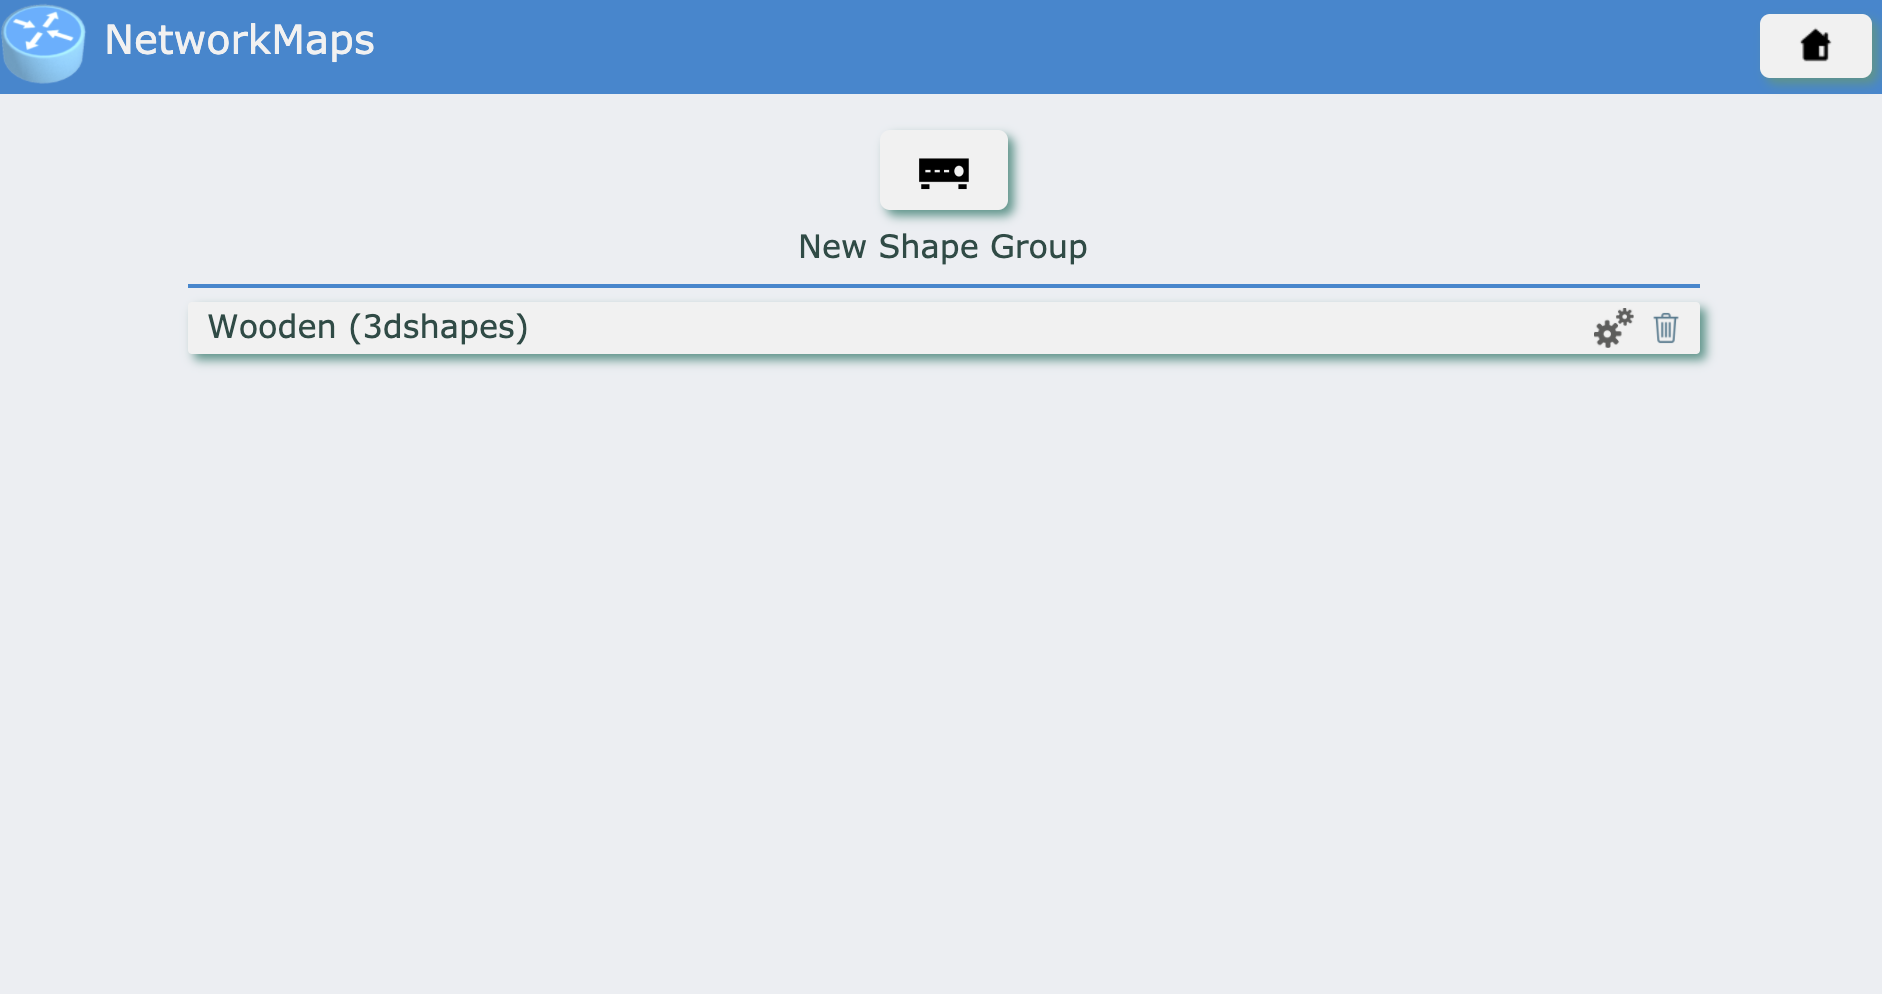
A Shape group has different general settings:
- Name. Name of the shape group.
- Description. A short description of this shape group
- Category. This should identify what type of shapes are going to exist inside this shape group.
The Shape Group Editor.
When you click on a created Shape Group on the Shape Group management screen, you will be take to the shape group editor screen. On this screen you will be able to create and edit shapes, assign icons to them, upload textures, ...
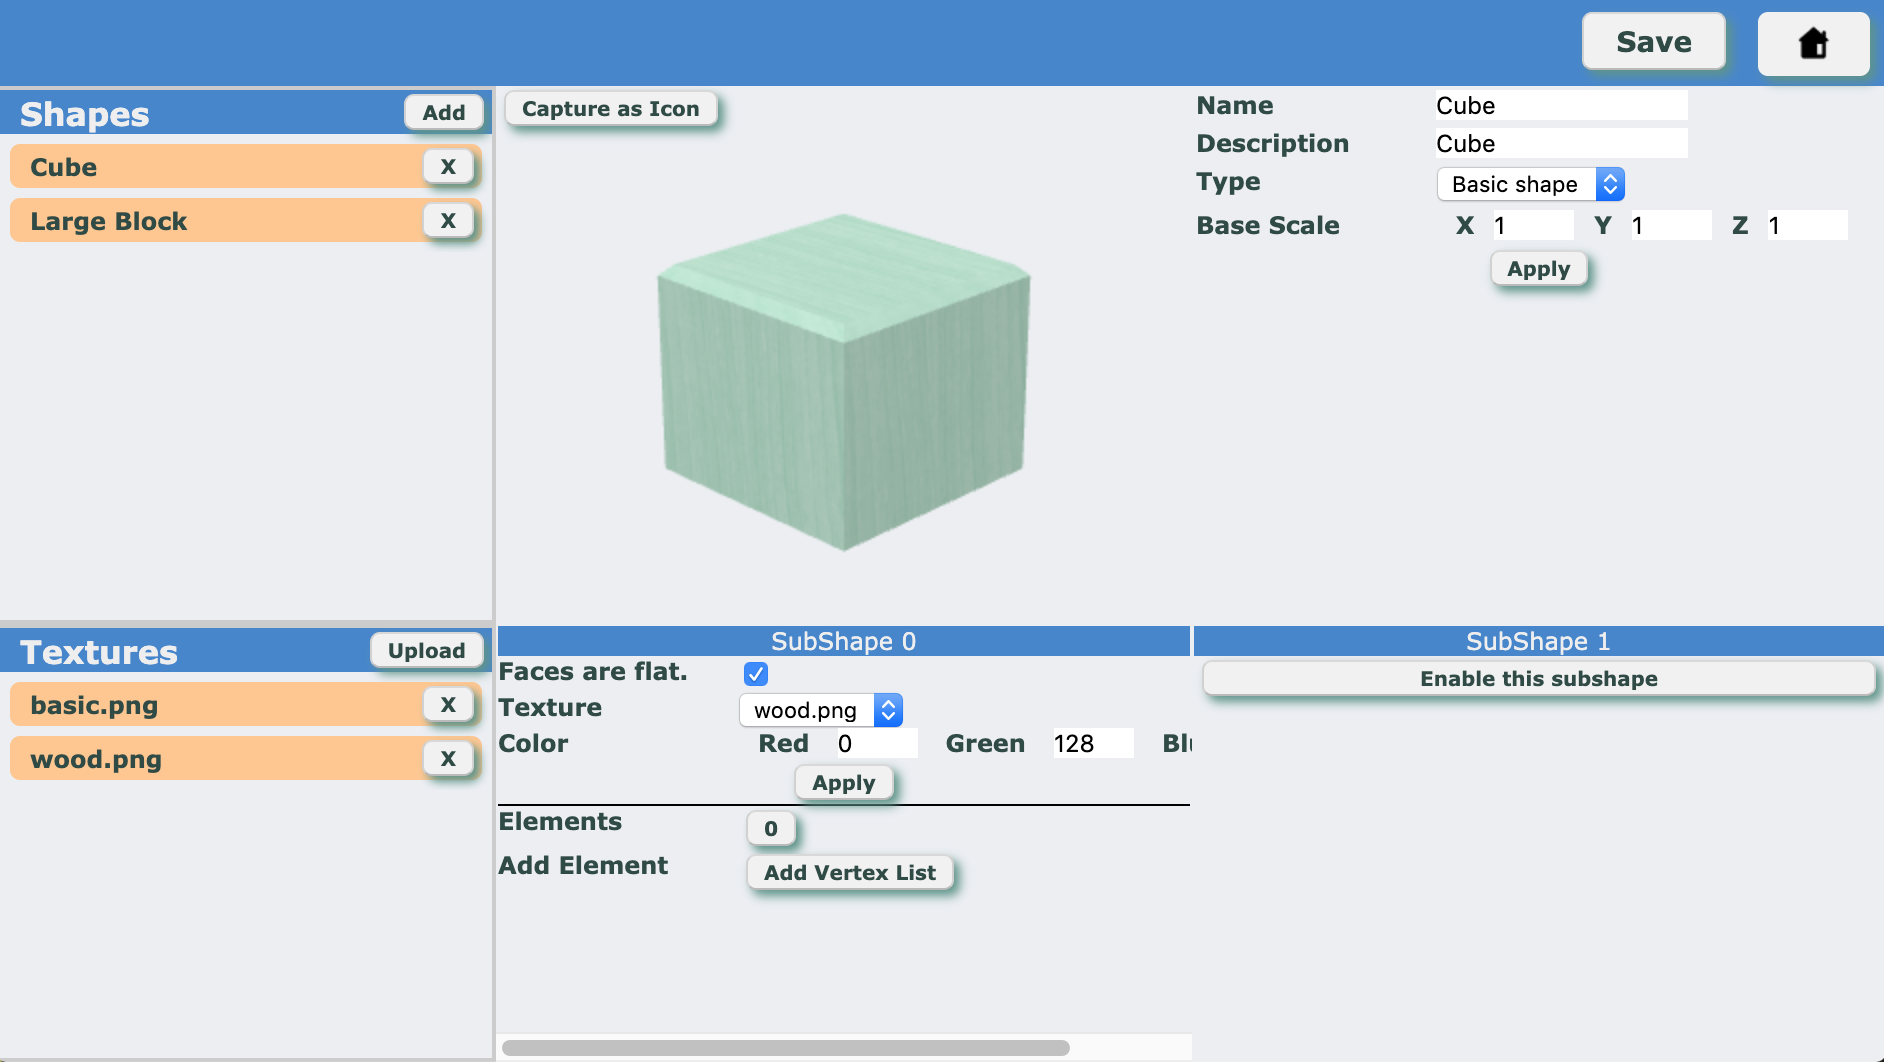
The shape group editor is divided into 3 areas:
- Shapes. This section on the top left, shows you the list of already created shapes and will let you add, remove or open each one of the shape.
- Textures. This section on the bottom left, shows you the list of textures
- Working Area. When you click on a created shape, you will see each one of the properties of the shape and as well as how the shape you are creating looks.
Properties of a Shape.
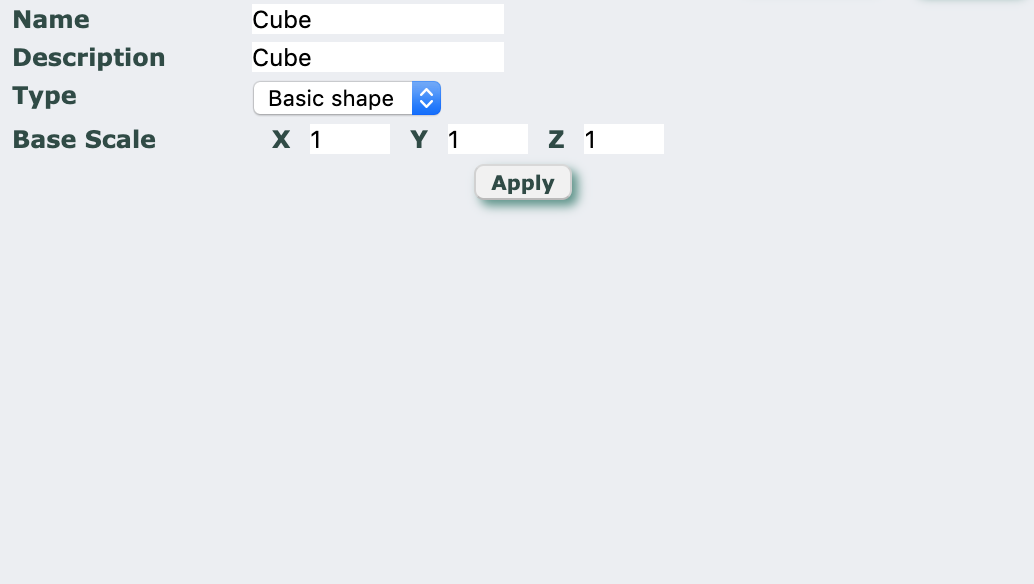
- Name. Name of this shape.
- Description. A brief description of the shape.
- Type. Type of the shape. This will determine what properties the elements of the diagrams have.
- Base Scale. Defines how big this shape is on diagrams.
Shape Icon.
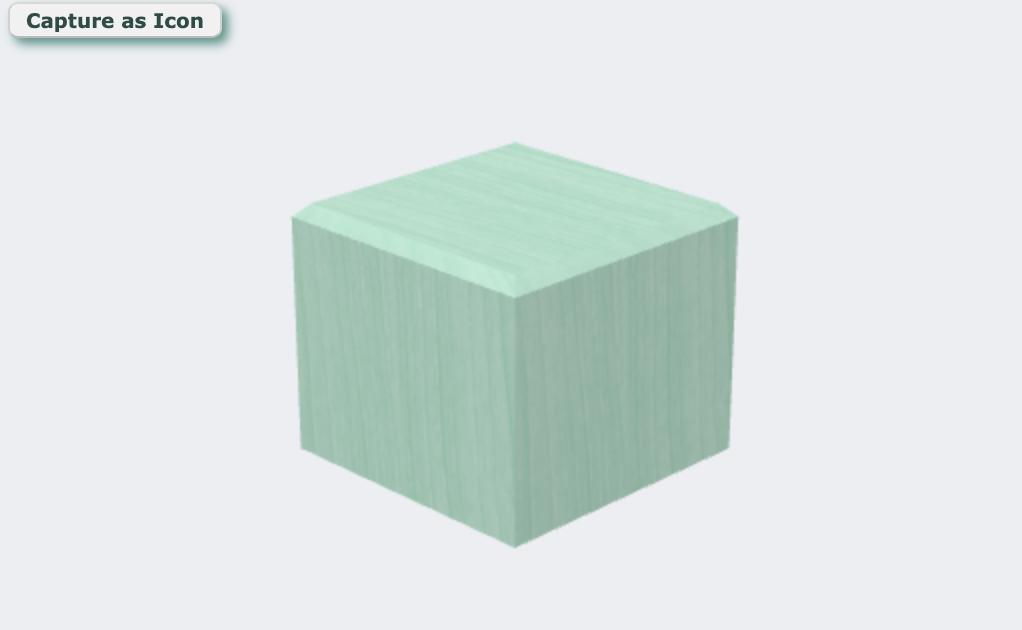
On this section, you can see the aspect of the shape you are creating. By clicking and moving your mouse (or using the mouse wheel), you can rotate this shape. Clicking the "Capture as Icon" button, you will upload the current aspect to NetworkMaps as the icon of this shape.
Subshapes.
Properties of Subshapes
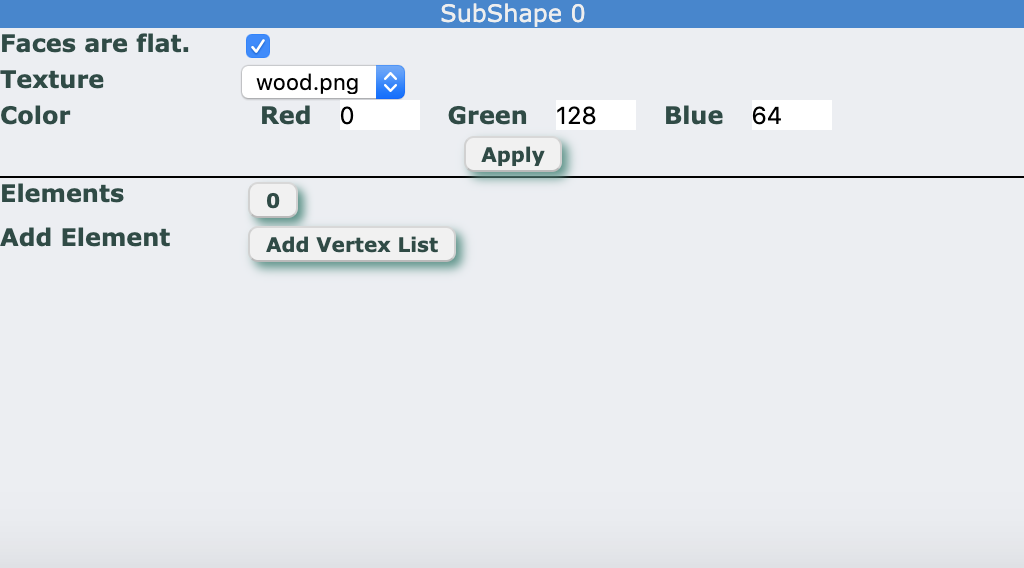
- Faces are Flat. Defines how normals are calculated. If marked, each face will be flat. If not marked, the edges of two faces will be smooth giving it a rounded aspect.
- Texture. Defines which texture will be applied to the faces of the elements of this subshape.
- Color. Base color used when a user adds this shape to a diagram. Later, users will be able to change this color on their diagram elements.
Subshape elements.
An element is just a collection of vertex and faces with their UV coordinates:
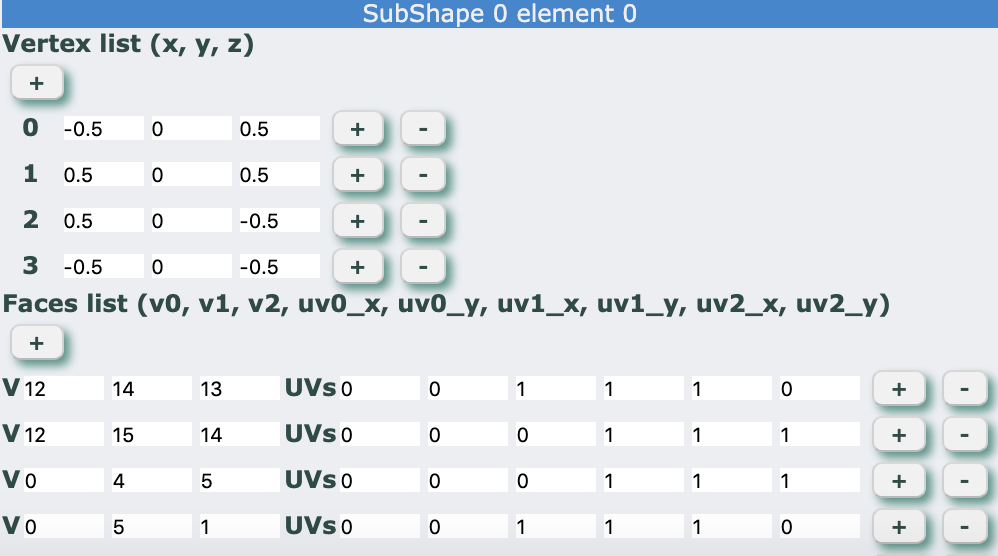
- Vertex List. A list of vertex coordinates (X, Y, Z). Each coordinate will have to be between -1 and 1.
- Faces List. A list of faces (triangles) (v0, v1, v2, uv0_x, uv0_y, uv1_x, uv1_y, uv2_x, uv2_y)
- v0, v1, v2: the 3 indexes of the vertex that form the triangle.
- uv0_x, uv0_y: texture coordinates applied to vertex v0
- uv1_x, uv1_y: texture coordinates applied to vertex v1
- uv2_x, uv2_y: texture coordinates applied to vertex v2
Don't forget to Save your changes.
The shape group editor doesn't save changes automatically to a shape group (except changes on textures or icons). Don't forget to save your changes before leaving this page.

 The shape group editor is divided into 3 areas:

